Steps to Re-Upload the Product License into an IC2 After Factory Defaulting
Follow the steps below to re-upload the product license and firmware for an IC2 controller that has been factory reset:
Step 1: Obtain Required Files
- Contact IMRON Support:
- Email Tech Support and provide the MAC address of the IC2.
- Request the IC2 product licenses and firmware files.
Step 2: Update Firmware
Login to the IC2:
- Open a web browser and log in to the IC2 using its IP address.
Go to the Maintenance Page:
- Navigate to the Maintenance page.
Upload the First Firmware File:
- In the Upload Firmware section, click Choose File and select the
update_1.16.16.4.imgfile. - After selecting the file, click Update to upload it.
- In the Upload Firmware section, click Choose File and select the
Upload the Second Firmware File:
- Return to the Maintenance page.
- In the Upload Firmware section, click Choose File and select the
apacs-embedded....2.3.10...appfile. - Click Update to upload the file.
Ignore Connection Error:
- After the update, ignore the message "Can't connect to the board after update".
Reconnect to the IC2:
- In the browser, navigate back to the IC2's IP address.
Step 3: Access the Apollo Web Interface
Login to Apollo:
- You will now see a webpage labeled Apollo.
- Login using the default credentials:
- Username:
admin - Password:
pass
- Username:
Ignore Network Settings:
- When the network configuration window appears, click X to close it.
Step 4: Upload Licenses
Access the About Menu:
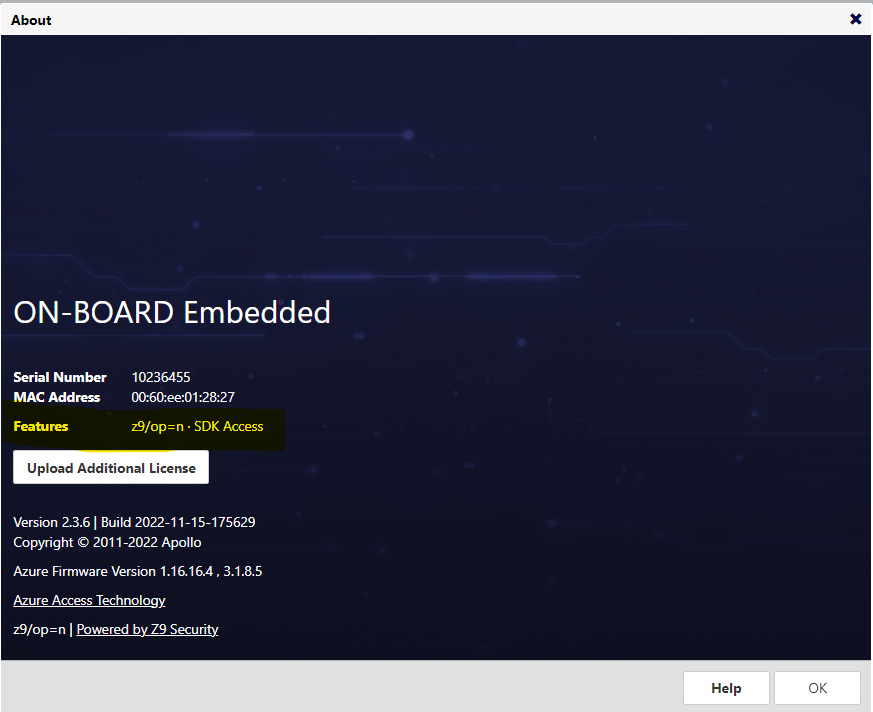
- From the main page, navigate to Menu > About.
Upload the First License:
- Click Upload License and select the file
product.license.
- Click Upload License and select the file
Upload the Second License:
- Log back into the IC2 web page and close the network configuration window.
- Go to Menu > About, click Upload License, and select the file
AzureAccess_via_SDK_xxxxxx.license(replacexxxxxwith the IC2's MAC address).
Upload the Third License:
- Log back into the IC2 web page, close the network configuration window, and go to Menu > About.
- Click Upload License and select the file
AzureRebrandingSecondaryController_xxxxxx.license(replacexxxxxwith the IC2's MAC address).
Step 5: Verify Features
- After completing the process, navigate to Menu > About.
- Verify the Features section displays the expected licensed features.
By following these steps, you will successfully re-upload the product license and restore the IC2 to its operational state.

