Considerations Prior to Setup
- This guide is for on-premises systems only. Requires Web Client version 10.33.99 or newer. NOT Supported on the older versions of the Windows application.
- Azure controller must be accessible from the Server.
- Port 443 must be opened to allow access to controller webpage
NOTE: If you are configuring the controller for the first time then follow a) IC2/IC4 Controller Initial Setup, if controller network is already configured then follow b) Changing Network Settings for pre-configured IC2/IC4 controller.
a) IC2/IC4 Controller Initial Setup
- Connect the Azure controller to the network. For the IC4, the shorter network port is configured for DHCP, and is the one that should be used.
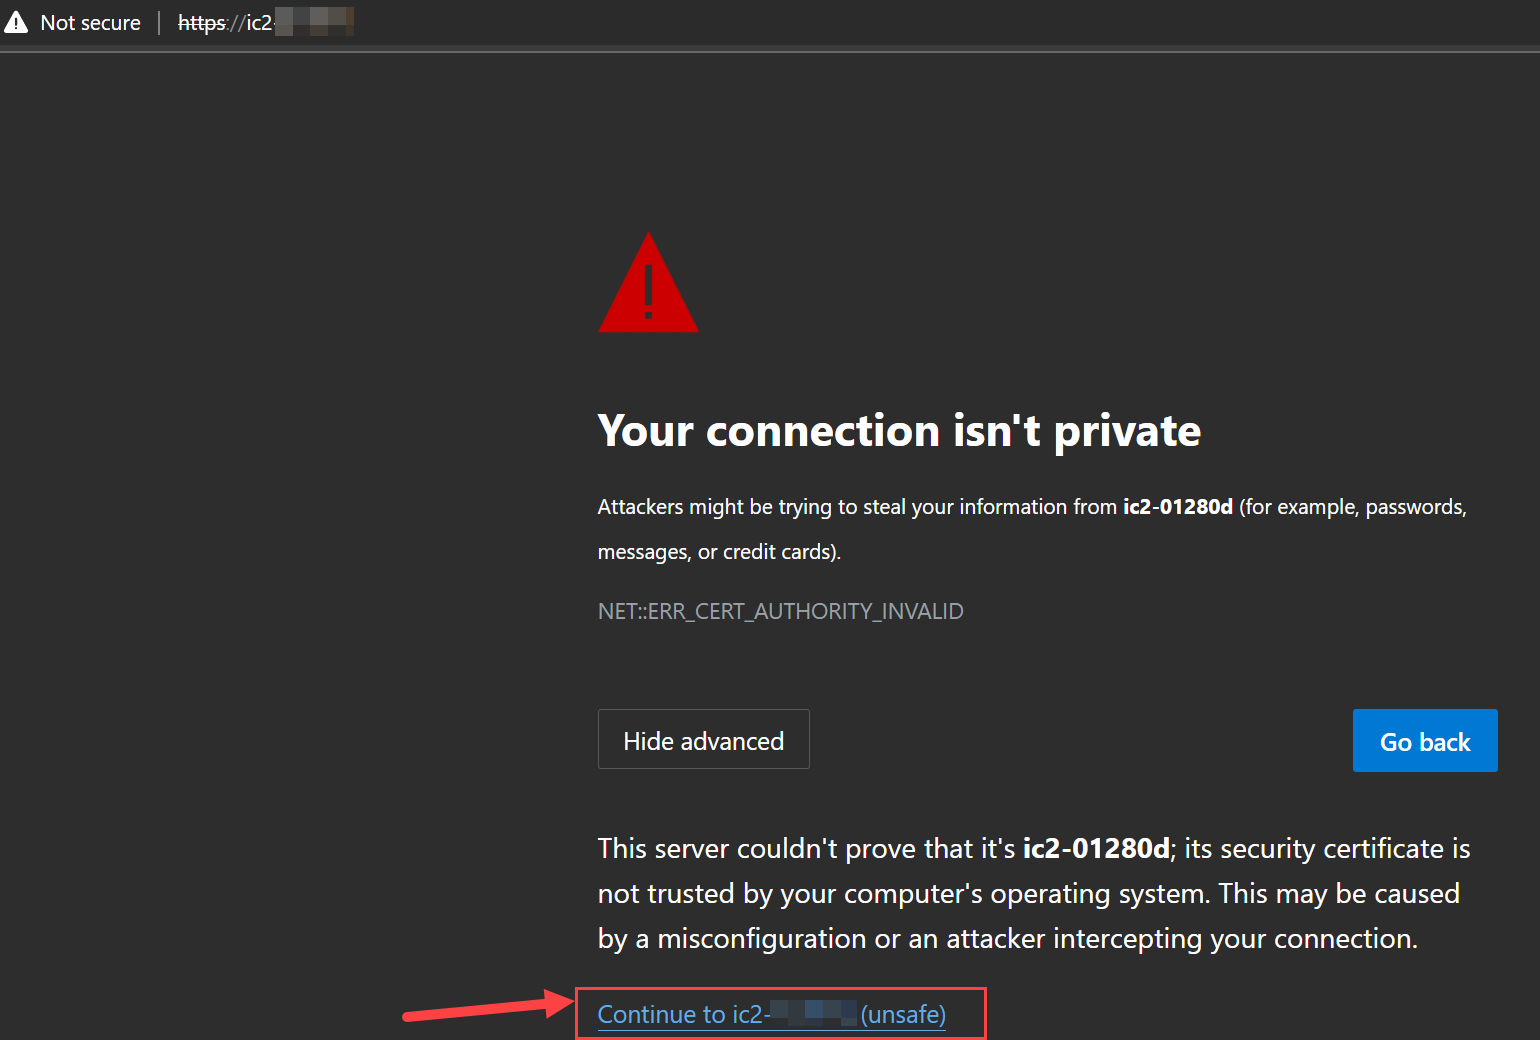
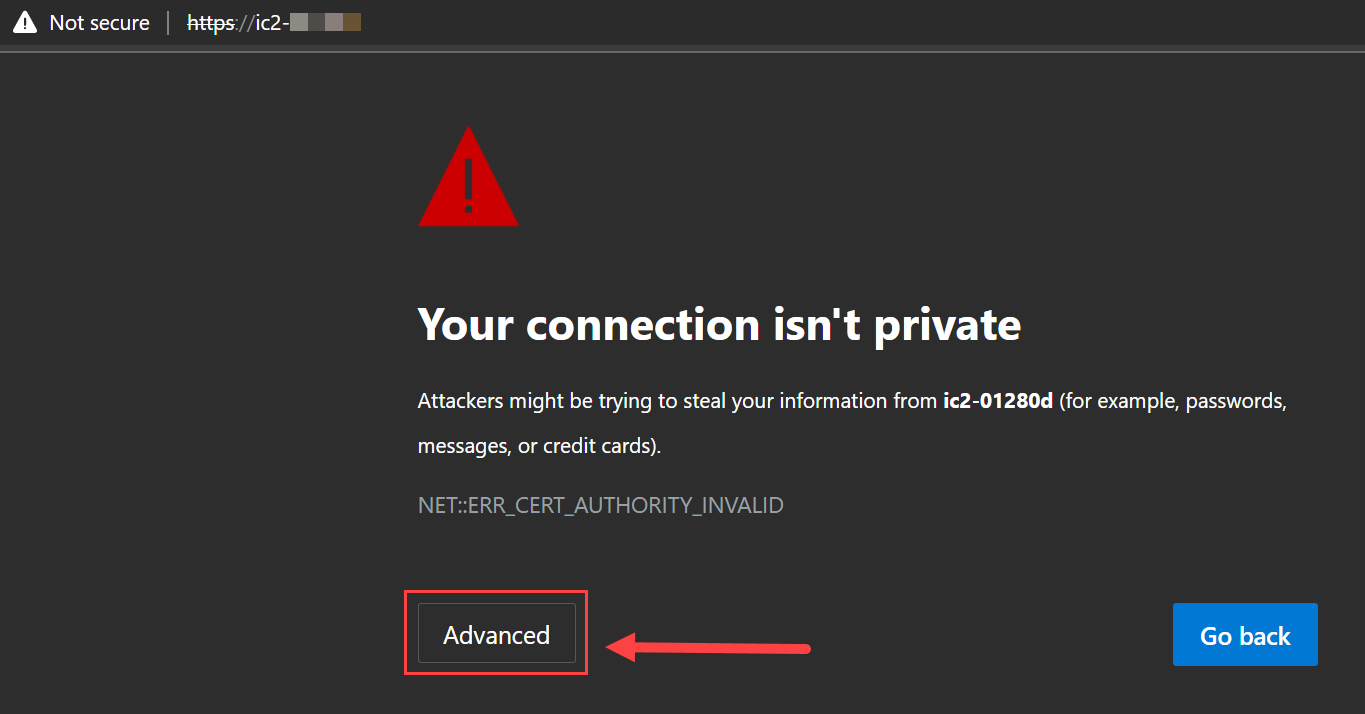
- Open an Edge or Chrome browser and type in the controllers host name (Begins with 'IC2' or 'IC4') and click on the 'Advanced' button:


- Click the 'Continue to ic2-XXXXXX (unsafe) ' button to continue to the login screen:
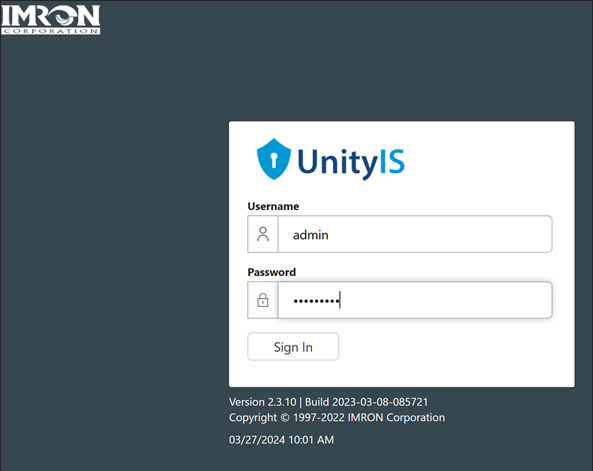
- Enter the default username of 'admin' and password of 'pass' and click the 'Sign In' button:

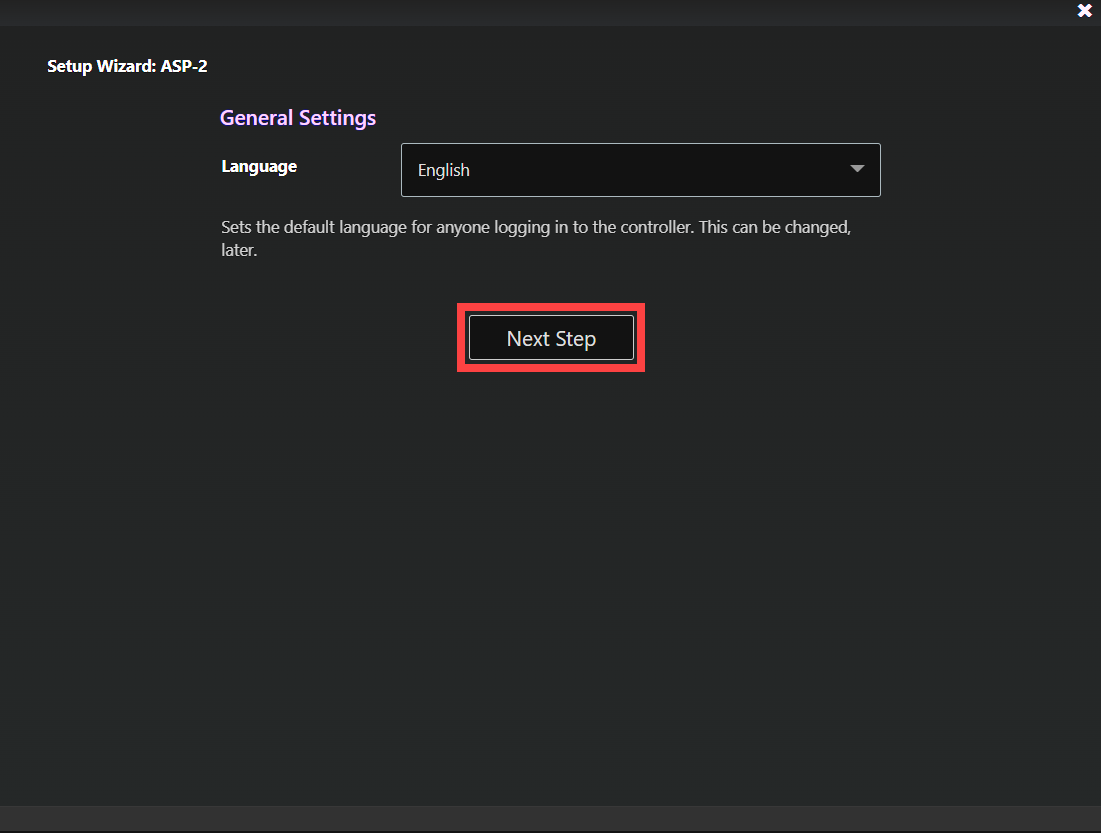
- Click the 'Next' button:
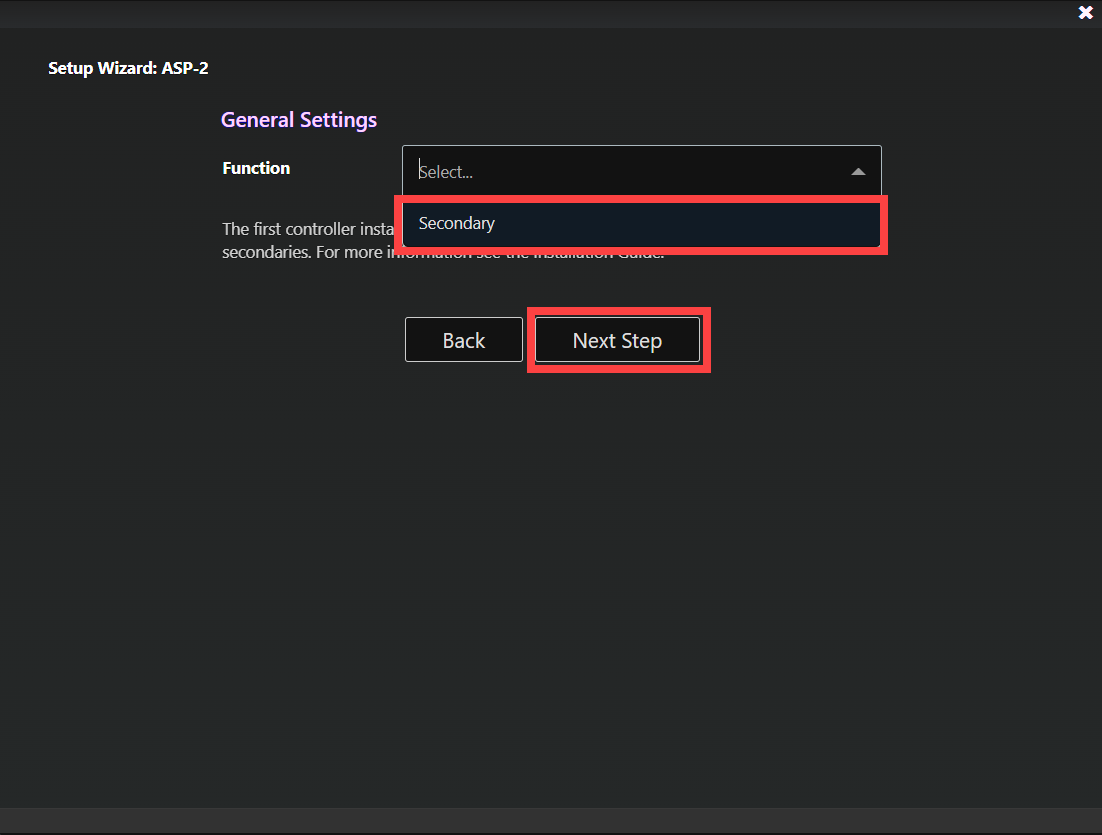
- From the 'Function' dropdown menu select 'Secondary' and click the 'Next Step' button:
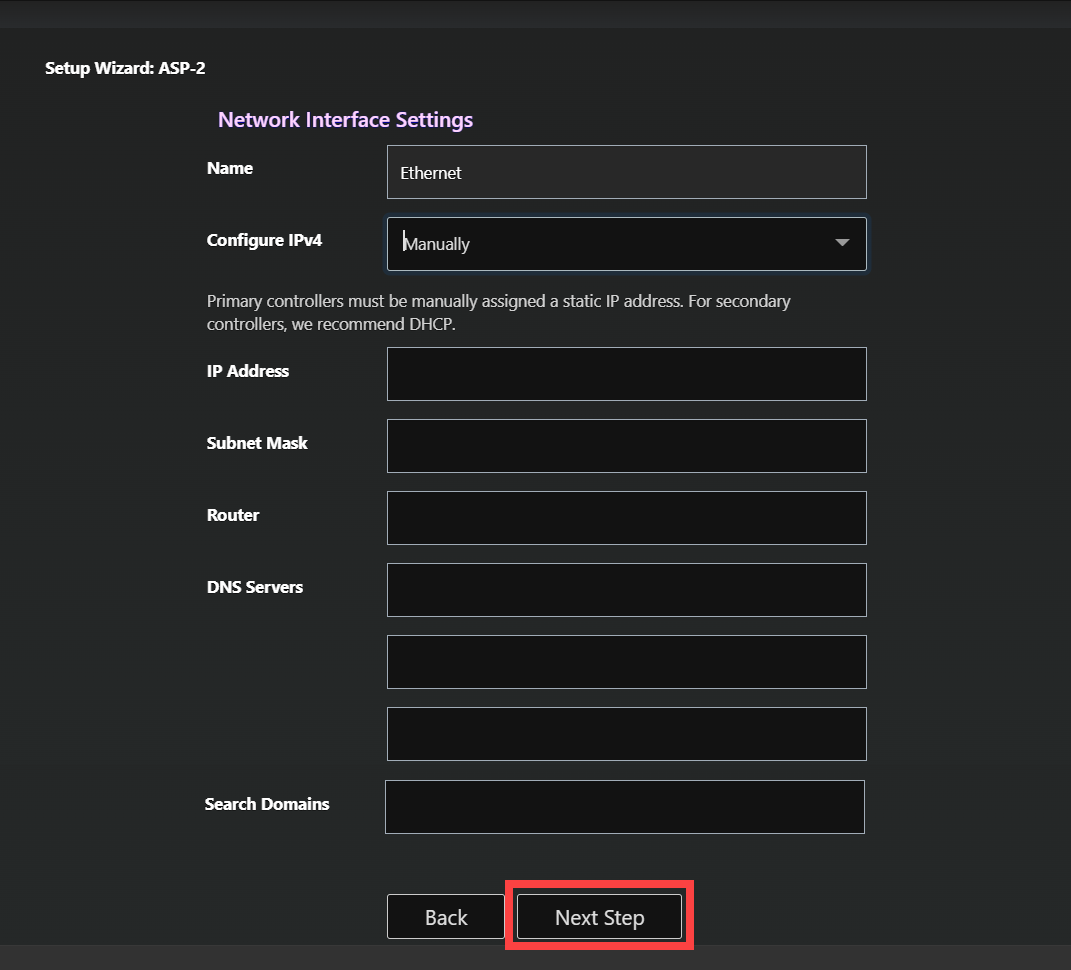
- From the 'Configure IPv4' dropdown menu select 'Manually' and enter the network parameters. Click the 'Next Step' button when finished:
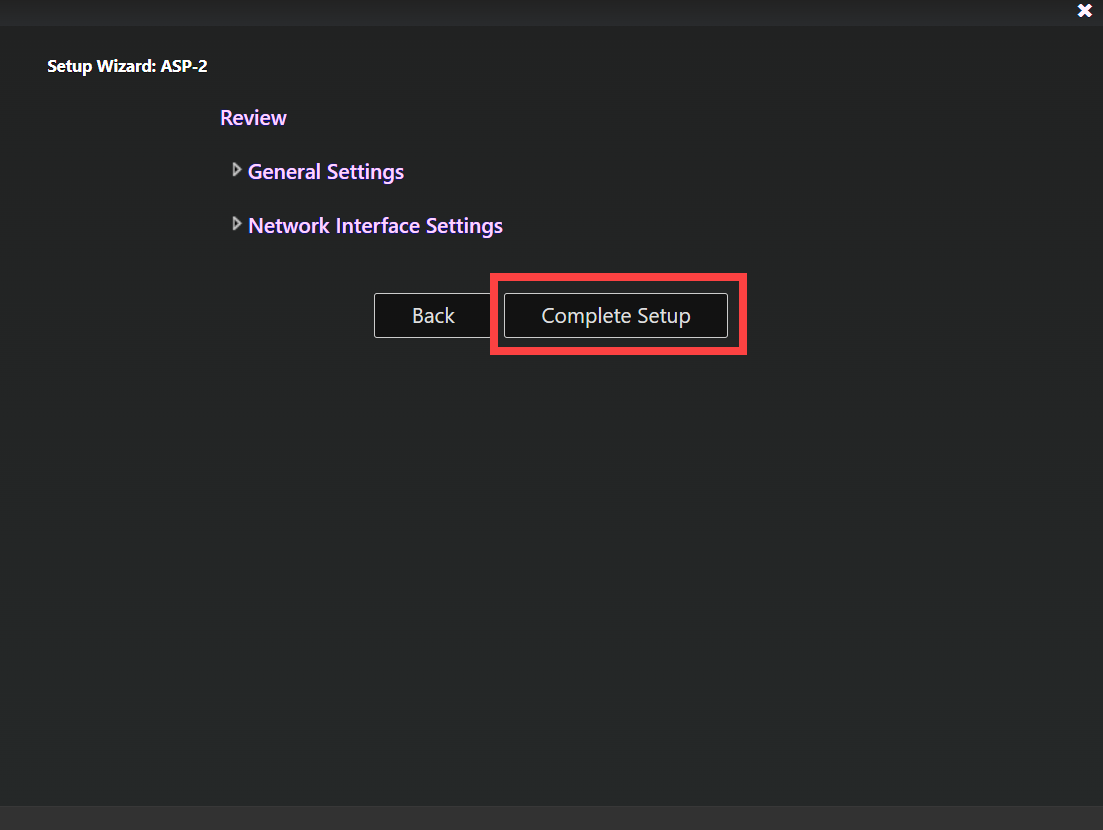
- Review the settings and click the 'Complete Setup' if the settings are correct:
- You should now be able to access the controllers webpage from the newly assigned IP address:
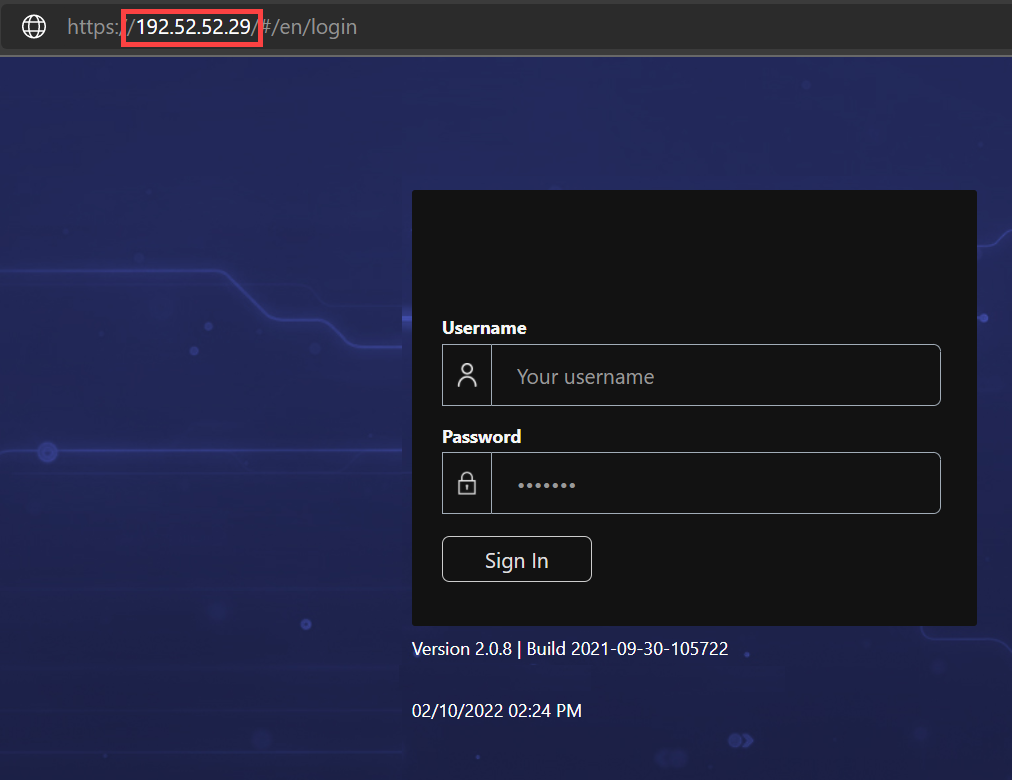
- Controller setup is now complete.
b) Changing Network Settings for pre-configured IC2/IC4 controller
The IC2/IC4 can be easily discovered on the local network by using the Controller's set IP or hostname. To connect locally, adjust the settings on the laptop to ensure it's on the same subnet as the IC2. You can establish a direct connection using a crossover network cord or a hub.
- To access the controller, open a web browser and type in the IP address, for example: https://<IP Address>, or use the hostname i.e. https://ic2-xxxxxx
- You will get that warning that "your connection isn't private", click on Advanced button to proceed.
- Click the 'Continue to ic2-XXXXXX (unsafe) ' button to continue to the login screen:

- Once you land on the login page use these credentials and then click on 'Sign In' to log into the panel
- Username: admin
- Password: ic-xxxxxx (xx represents that las 6 digits of MAC address of controller)
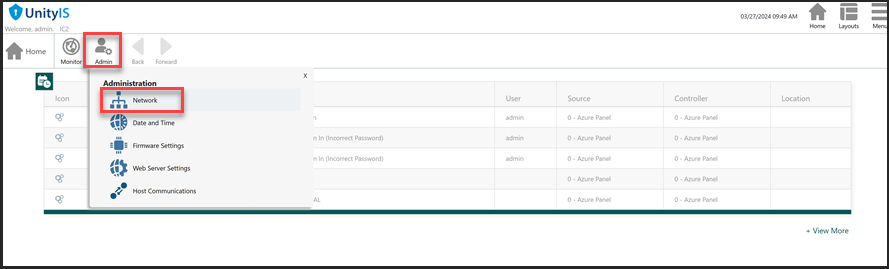
- Once your are logged into the Panel Please Click on 'Admin ➡ Network'
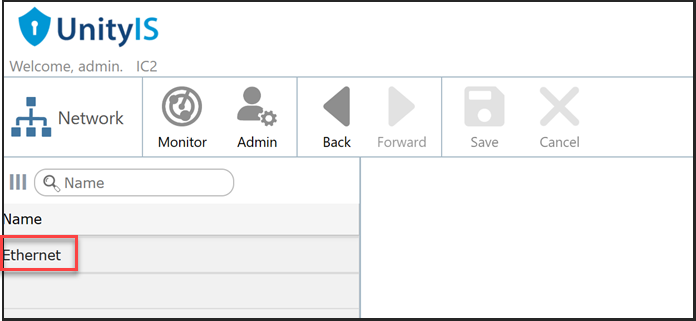
- then click on 'Ethernet'
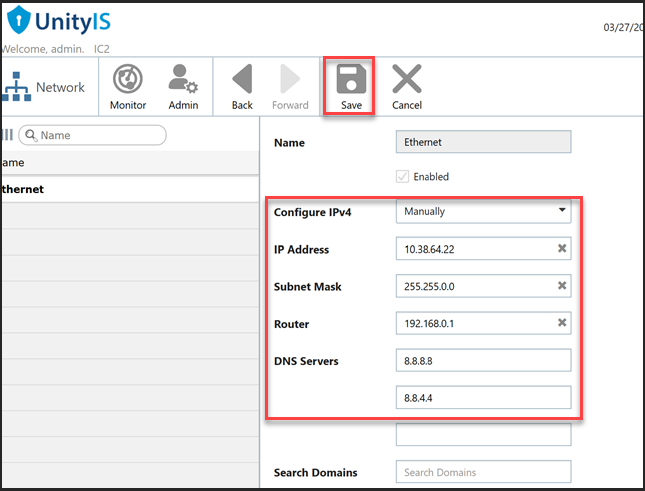
- From the 'Configure IPv4' dropdown menu select 'Manually' and enter the network parameters. Review the settings and click the 'Save' button to apply changes
- Controller setup is complete. Now you should be able to access the controller’s webpage from the newly assigned IP address.