Overview
When installing UnityIS for on-premises sites, a self-signed certificate is initially used for accessing the web server. This will generate the following 'Not Secure' message in the browser's address bar.

To avoid the “Not secure” warning, it is recommended that a *valid certificate be installed for the domain or subdomain name that is used to access the web server.
*Note: A Certificate Authority (CA) is an entity that issues SSL certificates. Here is list of top CA entities.
Please note that IMRON Corporation is not responsible for whichever CA you choose.
Exporting Certificates from the Windows Certificate Store
- Log in as an Administrator.
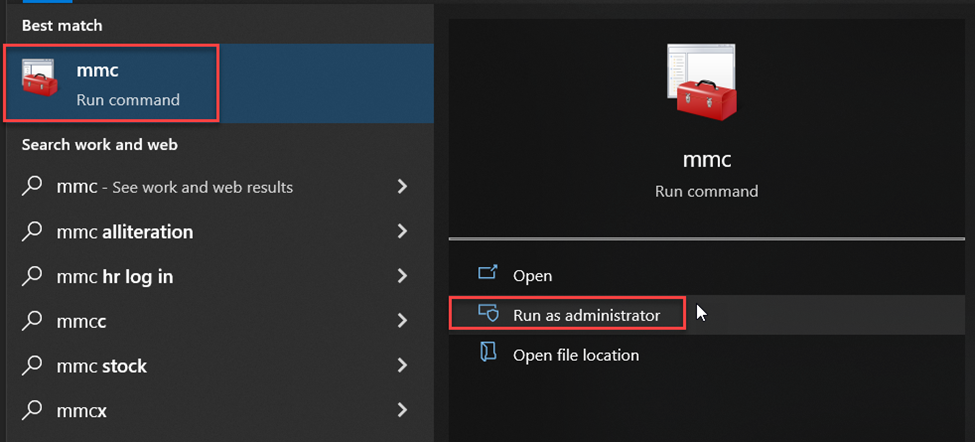
- From a command prompt or the run menu enter "mmc".
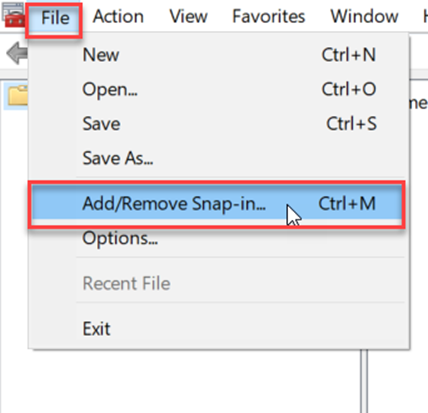
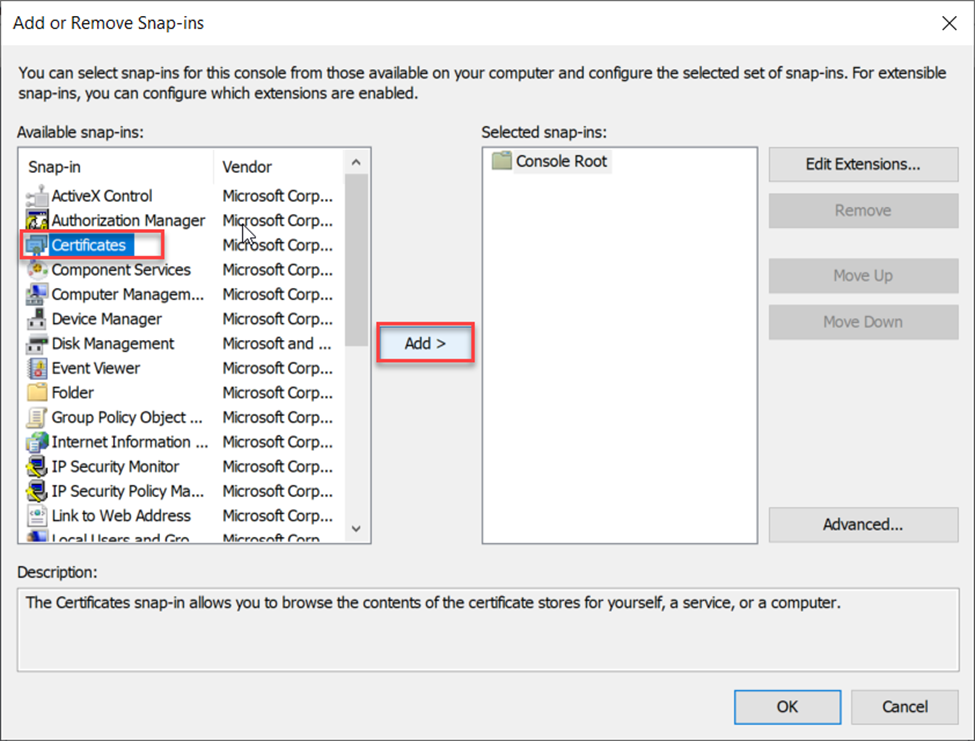
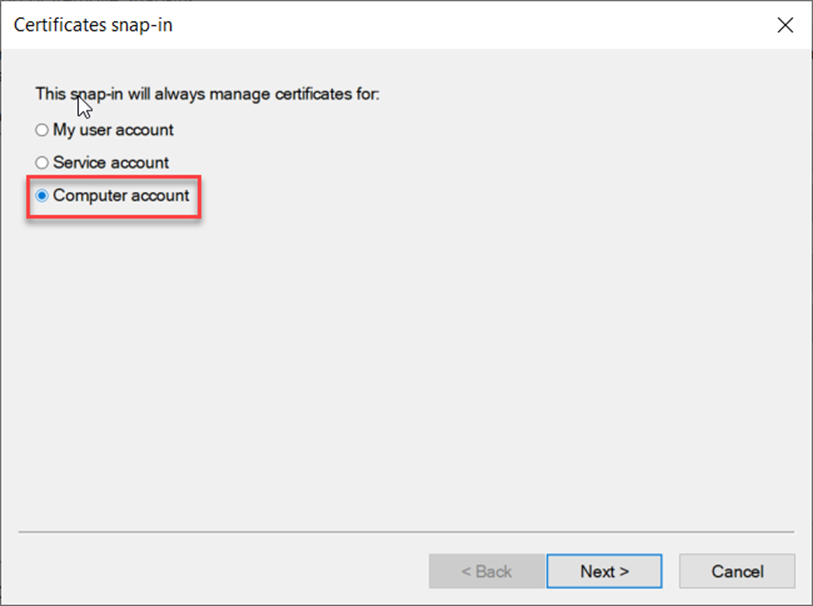
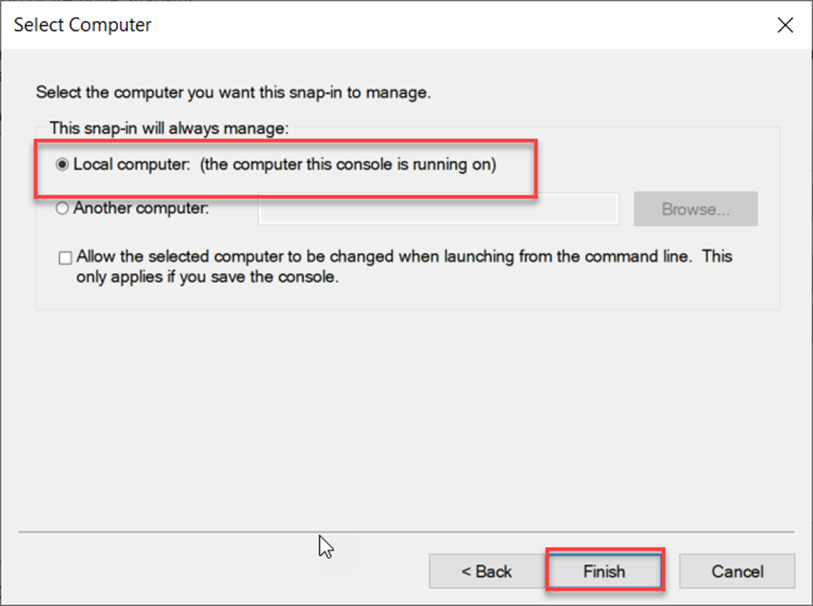
- Open your Local Computer certificates (click File → Add/Remove Snap-in... → Certificates → Computer account → Next → Local computer → Finish → OK).
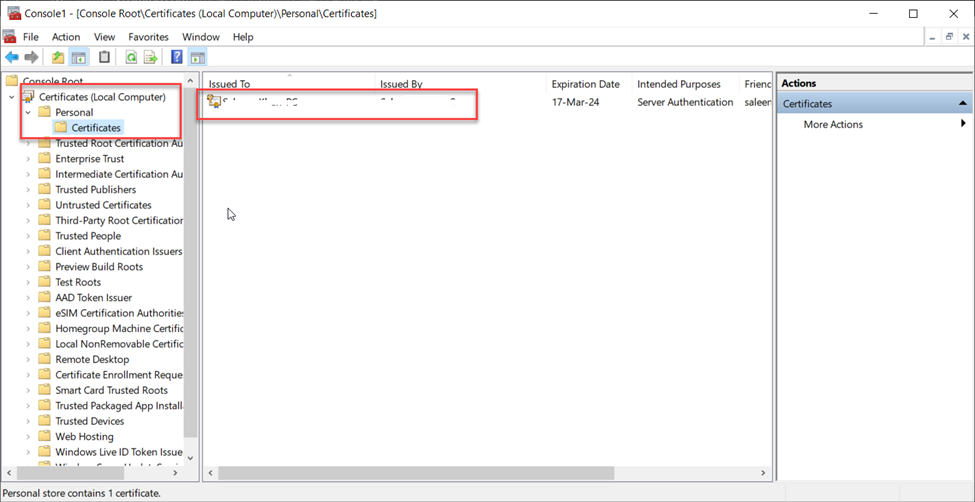
- In the folder structure navigate to Certificates (Local Computer) → Personal → Certificates.
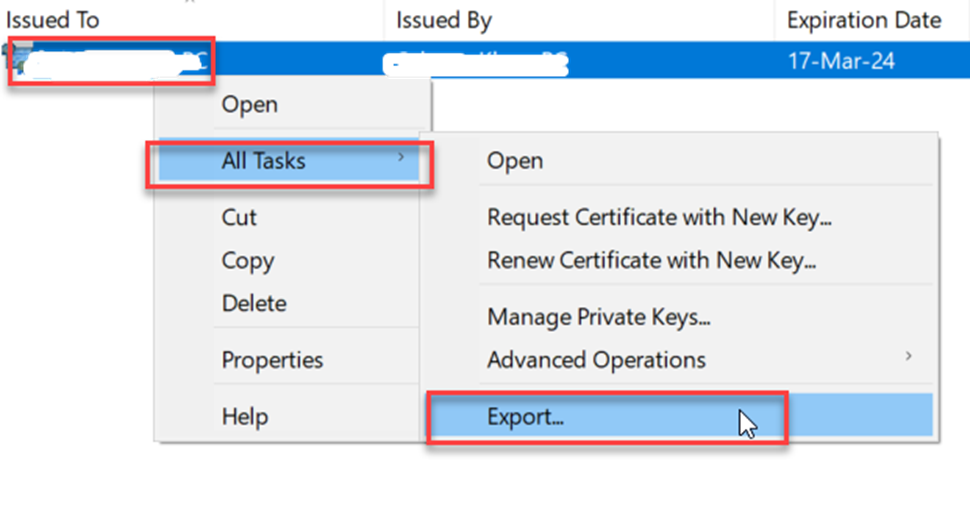
- Right-click on the certificate you want to export and choose All Tasks → Export → Next.
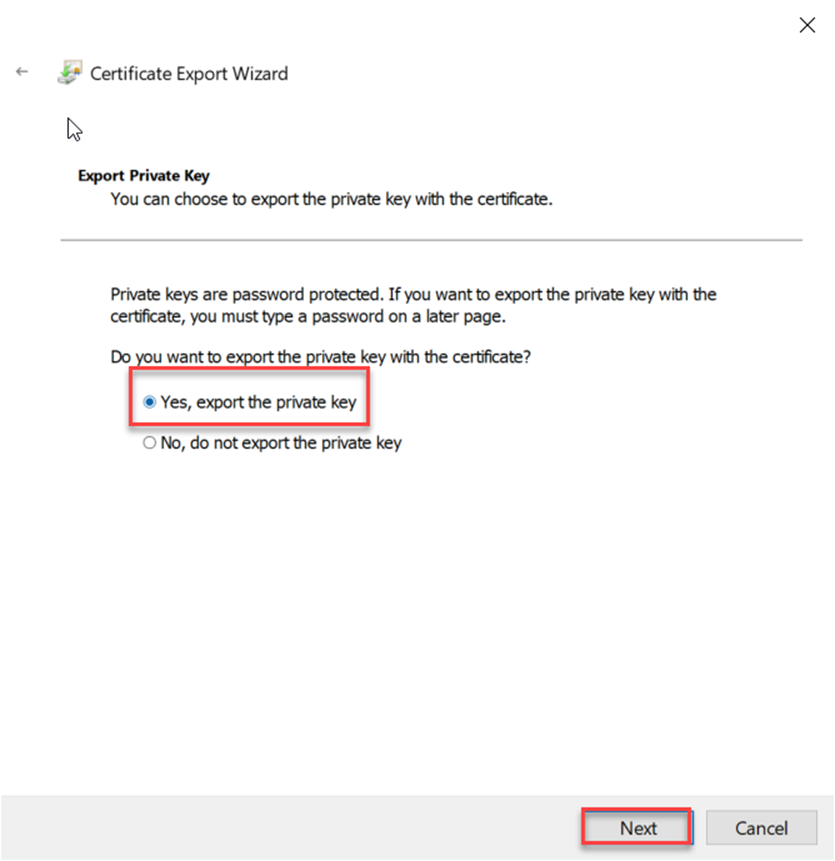
- Select "Yes, export the private key" then "Next". If this option is grayed out it means whoever created the certificate originally did not mark the private key as exportable. You will not be able to export the certificate in this situation, so you will need to request a new certificate and start over–see Obtain a Certificate on Windows Server 2008 R2 and 2012 (Without Using IIS).
- Select the PKCS#12 option.
- Check the box for "Include all certificates in the certification if possible".
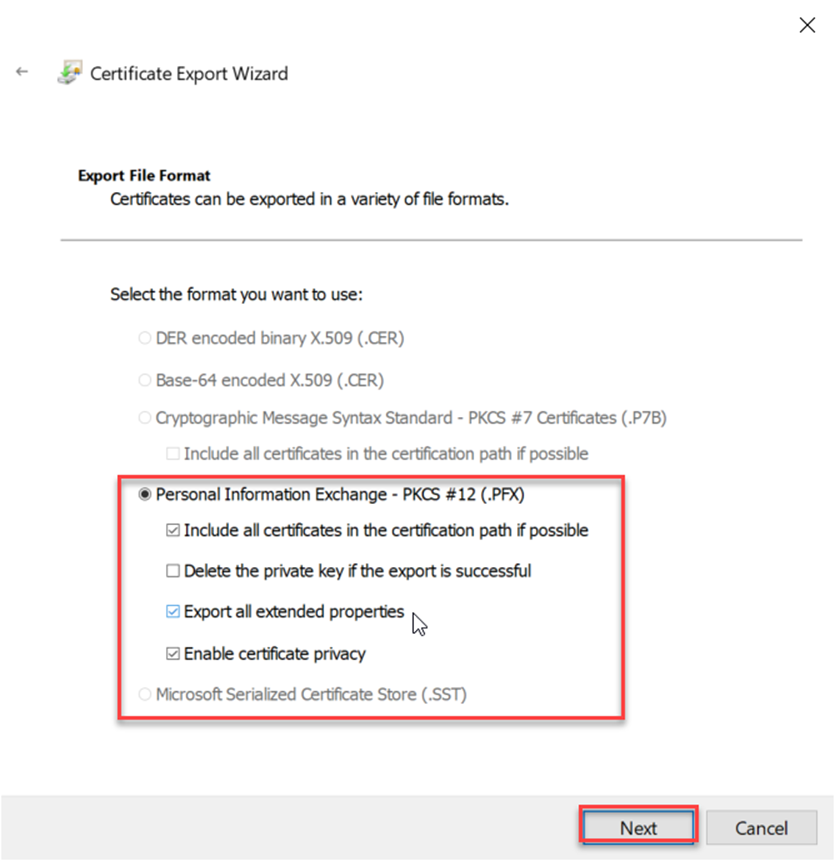
- If you will no longer need the certificate and private key on this system check "Delete the private key if the export is successful". Do not select this option if you still need to use this certificate on this system.
- Check the box to "Export all extended properties".
- Click "Next".
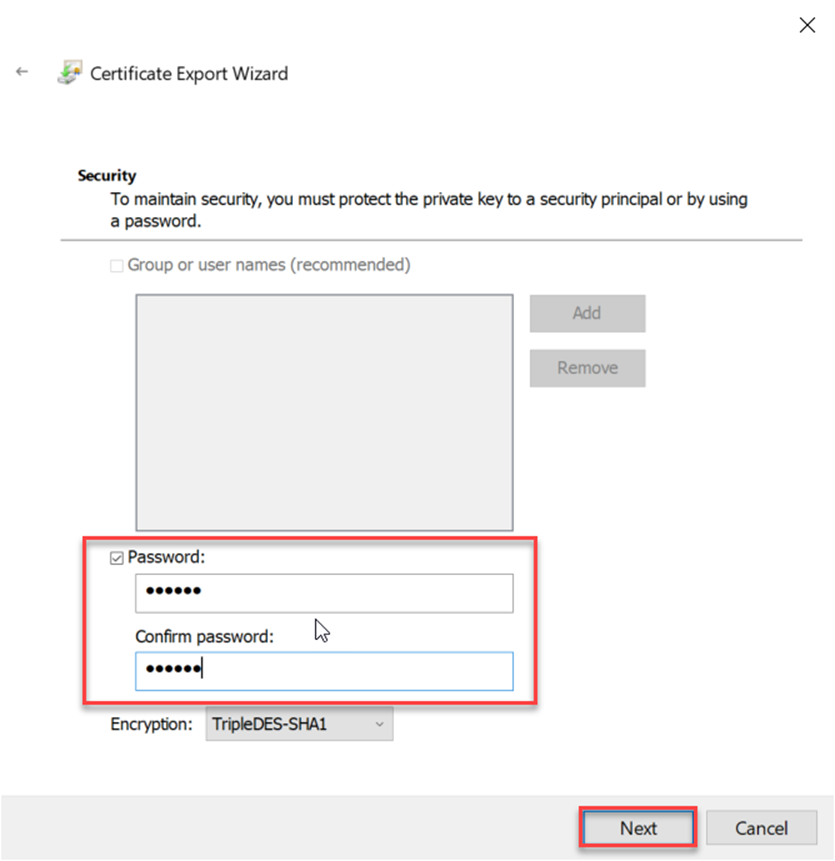
- Provide a password for the private key if you are prompted.
- Save the file somewhere safe as something like certname.pfx.
Extracting Certificate and Private Key Files from a .pfx File
Follow the steps below to extract separate certificate and private key files from the .pfx file. - Take the file you exported (e.g. certname.pfx) and copy it to a system where you have OpenSSL installed. Note: the *.pfx file is in PKCS#12 format and includes both the certificate and the private key.
- Run the following command to export the private key: openssl pkcs12 -in certname.pfx -nocerts -out key.pem -nodes
- Run the following command to export the certificate: openssl pkcs12 -in certname.pfx -nokeys -out cert.pem
- Run the following command to remove the passphrase from the private key: openssl rsa -in key.pem -out server.key
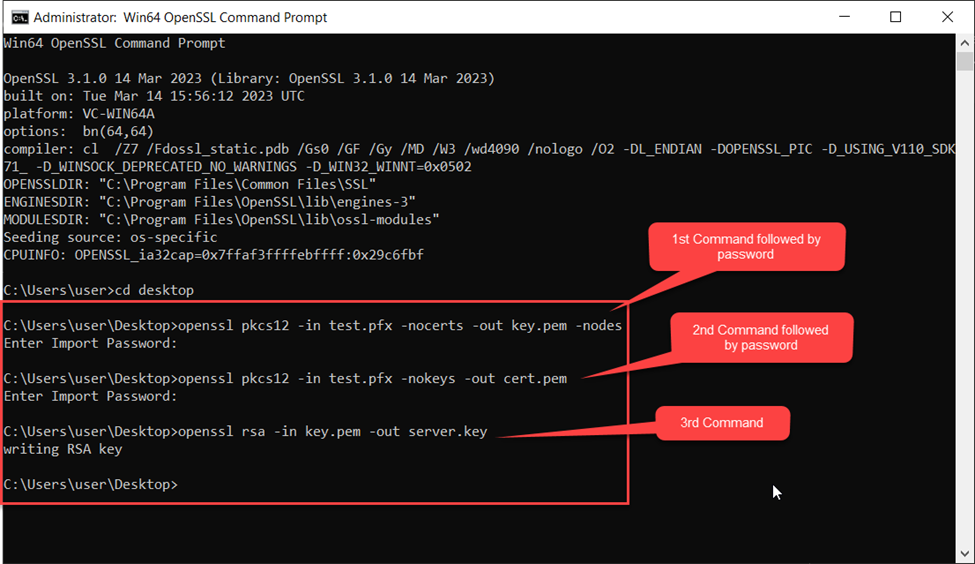
Note: The password is the one that was used while exporting the certificate in step-12.
Rename and Copy the Files
- Take the files that were created key.pem and cert.pem and rename them to server.key and server.cer.
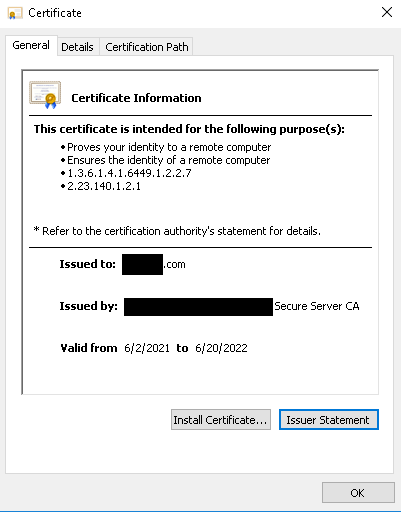
- Double click on the server.cer file to verify that it is valid. Below is a sample of what should be seen, with valid dates in the 'Valid from' field:
- Copy the server.cer and server.key file to the C:\Program Files (x86)\UnityIS\web2\certificate folder and restart the web service.